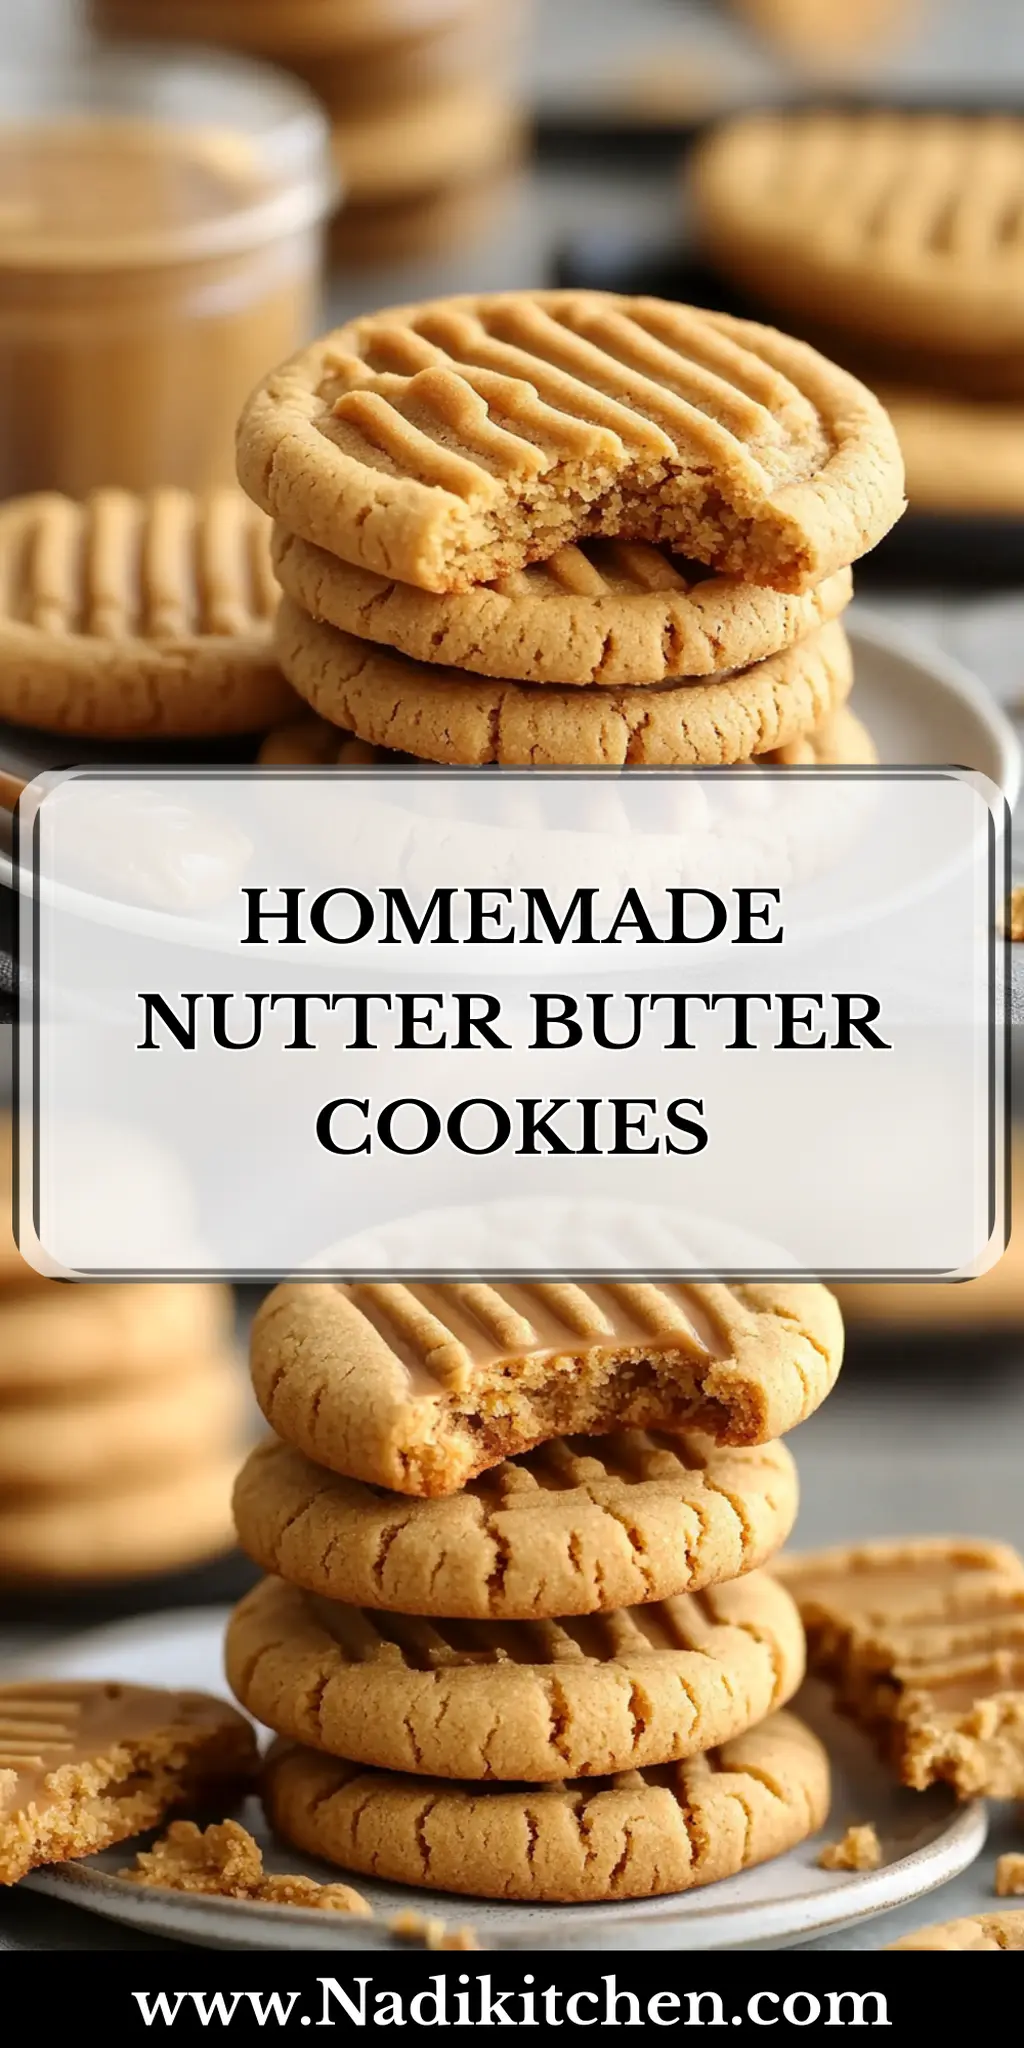
There's something incredibly comforting about the smell of freshly baked cookies wafting through the house, isn't there? The moment that buttery, nutty fragrance hits the air, I can't help but think of childhood days spent with a glass of milk, savoring each delightful bite. That's exactly the feeling you’ll get when you whip up these Homemade Nutter Butter Cookies.
I stumbled upon this recipe during a cozy weekend when I was craving something sweet but wanted more than the usual store-bought snacks. With creamy peanut butter as the star ingredient, these cookies stand out with their unique flavor and satisfying texture. Plus, they’re just as fun to make as they are to eat! Imagine impressing your friends and family with deliciously rich cookies sandwiched around a sweet filling — it’s the perfect treat for gatherings or simply indulging on a quiet evening.
Let’s dive into making these irresistible cookies that promise to become a staple in your baking repertoire!
Why You'll Love This Homemade Nutter Butter Cookies
- You'll love how easy and quick it is to whip up these cookies, taking just 37 minutes from start to finish.
- The rich flavor of creamy peanut butter combined with the sweet filling creates a nostalgic treat that's sure to please everyone.
- These cookies are incredibly versatile; you can enjoy them as a snack, dessert, or even as a delightful gift for friends and family.
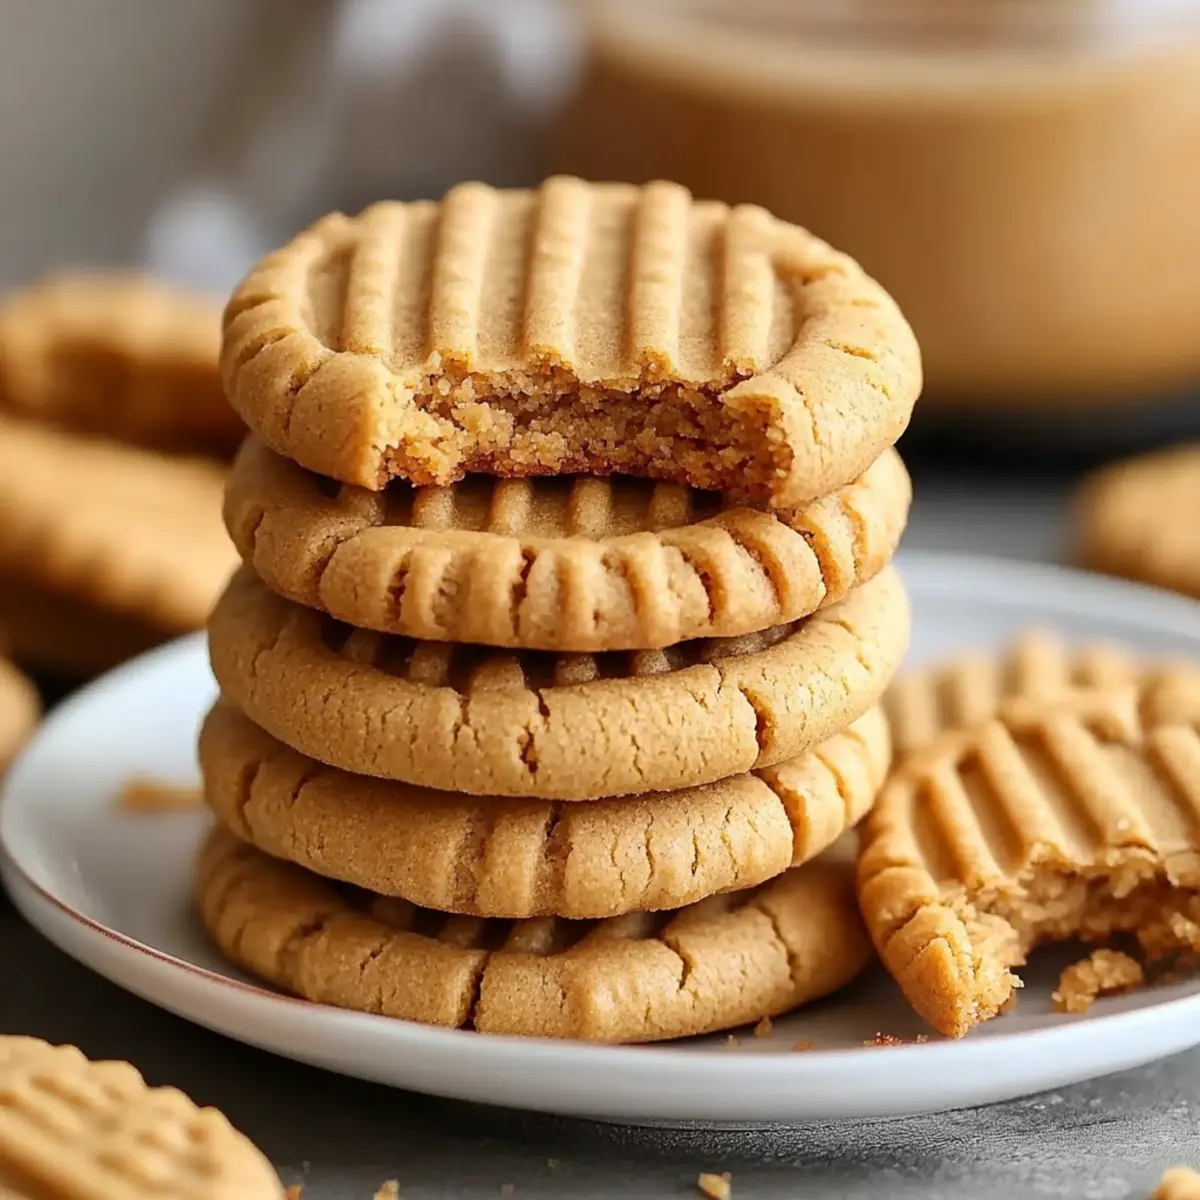
- Their adorable peanut-shaped design makes them visually appealing, adding a fun touch to any occasion.
Homemade Nutter Butter Cookie Ingredients
Get ready to bake a batch of nostalgia!
For the Cookie Dough
• All-purpose flour – provides the structure for these delightful cookies.
• Baking soda – helps the cookies rise and develop a lovely texture.
• Salt – enhances the flavors and balances the sweetness.
• Unsalted butter (softened) – gives the cookies a creamy richness; make sure it's at room temperature.
• Creamy peanut butter – the star ingredient that lends a nutty flavor to the cookies.
• Brown sugar (packed) – adds moisture and a hint of caramel flavor.
• Granulated sugar – sweetens the cookies for that perfect bite.
• Large egg – binds the ingredients together, creating a perfect dough.
• Vanilla extract – infuses a warm, comforting flavor into the mixture.
For the Filling
• Unsalted butter (softened) – ensures a smooth, creamy filling.
• Creamy peanut butter – keeps the flavor consistent with the cookie dough.
• Powdered sugar – sweetens the filling while achieving that soft, spreadable texture.
• Vanilla extract – adds a delightful aroma and flavor to the filling.
• Milk or cream – helps achieve the desired spreadable consistency for the filling; adjust as needed.
These Homemade Nutter Butter Cookies mix joy and comfort in every bite!
How to Make Homemade Nutter Butter Cookies
-
Preheat your oven to 350°F (175°C) and line your baking sheets with parchment paper. This step is crucial for even baking and easy cleanup.
-
Whisk together the flour, baking soda, and salt in a bowl until well combined. This ensures that the dry ingredients are evenly dispersed for the perfect cookie texture.
-
Cream the softened butter, peanut butter, and both sugars together until light and fluffy—about 3-5 minutes. This is where the magic begins, creating a rich base for your cookies!
-
Add the egg and vanilla extract, mixing until fully incorporated. You should see the mixture become even smoother and creamier.
-
Mix in the dry ingredients until a soft dough forms, being careful not to overmix. The dough should be tender and slightly sticky, inviting you to roll it into shapes!
-
Shape the dough into peanut-like ovals, placing them on the prepared baking sheet. Each piece should be about 1 inch apart to allow for spreading while baking.
-
Press crisscross marks into each cookie with a fork to give them that classic look. This also helps them bake evenly!
-
Bake for 10–12 minutes until the edges are light golden brown. Your kitchen will soon be filled with a heavenly nutty aroma!
-
Cool the cookies completely on a wire rack before proceeding to the filling. This step is key to achieving the perfect sandwich cookie!
-
Beat the filling ingredients together until smooth and creamy. This should take about 2-3 minutes of mixing; adjust milk or cream as needed to reach your desired consistency.
-
Sandwich each cookie with a generous dollop of filling, gently pressing them together. The result? A delightful, gooey crunch in every bite!
Optional: Drizzle with melted chocolate for an extra-chocolatey touch!
Exact quantities are listed in the recipe card below.
How to Store and Freeze Homemade Nutter Butter Cookies
Room Temperature: Store the cookies in an airtight container at room temperature for up to 5 days. This keeps them soft and fresh, ready for a quick snack!
Fridge: If you want to extend their freshness, you can store them in the fridge for up to 2 weeks in an airtight container, though they may lose a bit of their soft texture.
Freezer: Freeze the cookies for up to 3 months! Place them in a single layer on a baking sheet to freeze solid, then transfer them to a freezer-safe bag or container, separating layers with parchment paper.
Reheating: When ready to enjoy, simply thaw them on the countertop or warm in the microwave for a few seconds to bring back that delightful gooeyness in your Homemade Nutter Butter Cookies!
Make Ahead Options
These Homemade Nutter Butter Cookies are perfect for meal prep enthusiasts! You can prepare the cookie dough up to 24 hours in advance by wrapping it tightly in plastic wrap and refrigerating it. This helps to develop the flavors while keeping the dough chilled and easy to shape. Additionally, you can make the filling up to 3 days ahead; simply store it in an airtight container in the refrigerator to maintain its creamy texture. When you're ready to bake, just shape the cookies and follow the baking instructions. By prepping ahead, you’ll save precious time on busy days and still enjoy deliciously fresh cookies!
What to Serve with Homemade Nutter Butter Cookies?
There's nothing like cozying up with a cup of something warm and indulging in sweet, creamy treats fresh from the oven.
-
Milk: The classic choice! A cold glass of milk balances the nutty richness of the cookies, creating a timeless combination.
-
Coffee: Rich, hot coffee enhances the flavors of peanut butter and adds a delightful kick to each bite.
-
Ice Cream: Scoops of vanilla or chocolate ice cream make for an indulgent dessert, perfectly complementing the chewy cookies.
-
Fruit Salad: A refreshing fruit salad can brighten up your dessert table and offers a sweet-tart contrast to the cookies' nuttiness.
-
Chocolate Sauce: Drizzle warm chocolate sauce over or dip your cookies for an irresistible twist and added decadence.
-
Hot Cocoa: Curling up with a mug of warm cocoa and these cookies is like giving yourself a cozy hug on a chilly day.
-
Nutty Granola Bars: Keep the peanut flavor going with homemade nutty granola bars, an excellent crunchy accompaniment.
These pairings will elevate your treat experience, creating delightful moments to share with family and friends!
Homemade Nutter Butter Cookies Variations
Feel free to put your own spin on these delightful cookies with these simple substitutions!
- Gluten-Free: Substitute all-purpose flour with a gluten-free flour blend to keep it inclusive for those sensitive to gluten.
- Nut-Free: Replace peanut butter with sunbutter or soy nut butter for a deliciously safe alternative for nut allergy sufferers.
- Chocolate Lovers: Add in chocolate chips to the cookie dough for a delightful burst of chocolatey goodness in each bite.
To take it a step further, try drizzling melted chocolate over the assembled cookies. This indulgent addition will take your treats to new heights of deliciousness!
- Vegan: Swap the egg for a flax egg (1 tablespoon ground flaxseed mixed with 2.5 tablespoon water) and use vegan butter to create a scrumptious plant-based version.
- Spicy Kick: Mix in a pinch of cayenne pepper or cinnamon into the cookie dough for a fun twist that adds some warmth.
- Coconut Dream: Fold in shredded coconut to the cookie dough for a tropical touch that brings sweetness and chewiness.
You can also experiment by using coconut cream for the filling in place of milk for a delightful coconut finish!
- Dairy-Free: Use dairy-free butter and a non-dairy milk alternative in the filling to create an equally tasty, dairy-free dessert.
Explore these variations and personalize your Homemade Nutter Butter Cookies to create a flavor sensation that suits your unique taste!
Chef's Helpful Tips
- When making Homemade Nutter Butter Cookies, ensure your butter is softened to room temperature for easy creaming with the sugars; this creates a light and fluffy base.
- Avoid overmixing your dough after adding the dry ingredients, as this can lead to tough cookies instead of the desired tenderness.
- Use a fork to press the crisscross marks lightly so that the cookies maintain their shape while baking and do not spread too much.
- Monitor your cookies closely towards the end of baking, as even a minute can change them from perfectly golden to overdone.
Homemade Nutter Butter Cookies Recipe FAQs
What kind of peanut butter should I use?
Absolutely! For the best flavor and texture in your Homemade Nutter Butter Cookies, I recommend using smooth, creamy peanut butter. This helps create that classic taste and the perfect consistency, both in the cookies and the filling. Avoid natural peanut butter with a gritty texture, as it might alter the delightful mouthfeel you're aiming for.
How should I store my Homemade Nutter Butter Cookies?
Store your cookies in an airtight container at room temperature for up to 5 days. This keeps them delightfully soft and perfect for snacking! If you're looking to enjoy them longer, place them in the fridge, where they can last up to 2 weeks—though they may lose some of their soft texture.
Can I freeze the Homemade Nutter Butter Cookies?
Very! Freezing is a fantastic option. To freeze your cookies, lay them out in a single layer on a baking sheet and freeze until solid—this usually takes about 1-2 hours. Then transfer them to a freezer-safe bag or container, making sure to separate layers with parchment paper. They will stay fresh for up to 3 months. When you're ready to enjoy, simply thaw them at room temperature or microwave for a few seconds to regain their gooeyness!
What if my cookie dough is too sticky?
No worries! If your dough feels overly sticky, it might be due to the butter being too warm or not enough flour incorporated. Try refrigerating the dough for about 30 minutes to make it easier to handle. If you still find it sticky after that, gently mix in a tablespoon or two of flour until it reaches a good consistency for shaping into those lovely peanut-like ovals.
Are these cookies safe for pets or individuals with peanut allergies?
I often get this question! It's best to avoid offering these Homemade Nutter Butter Cookies to pets, especially dogs, as peanut butter can be high in fat and sugar. As for people with peanut allergies, definitely steer clear of this recipe! Instead, consider baking cookies with allergen-free alternatives like sun butter or almond butter, adjusting the recipe accordingly to avoid cross-contamination.
Homemade Nutter Butter Cookies
Ingredients
Equipment
Method
- Preheat your oven to 350°F (175°C) and line your baking sheets with parchment paper.
- Whisk together the flour, baking soda, and salt in a bowl until well combined.
- Cream the softened butter, peanut butter, and both sugars together until light and fluffy, about 3-5 minutes.
- Add the egg and vanilla extract, mixing until fully incorporated.
- Mix in the dry ingredients until a soft dough forms, being careful not to overmix.
- Shape the dough into peanut-like ovals, placing them on the prepared baking sheet.
- Press crisscross marks into each cookie with a fork.
- Bake for 10–12 minutes until the edges are light golden brown.
- Cool the cookies completely on a wire rack before proceeding to the filling.
- Beat the filling ingredients together until smooth and creamy.
- Sandwich each cookie with a generous dollop of filling, gently pressing them together.


Leave a Reply